Install C++ compiler in visual studio code
Hi, this is Bigsan. In this article, I will tell you how you can install a C++ compiler in visual studio code. Microsoft Visual studio code does not come with an in-build compiler. you have to download an external compiler to compile your pc.
So, in this article, I will tell you how to install it on your pc. Read the article till the end. It will take hardly ten to fifteen minutes. I have written simple steps to install the compiler of C++. I have also given some screenshots show that it will help you to easily install it.
Steps to install it on your pc:
1. Go to any browser on your pc and search for MinGW. You will find this website :
https://osdn.net/projects/mingw/releases/

2. Download MinGW from this website in then install it. While installing simply click next.


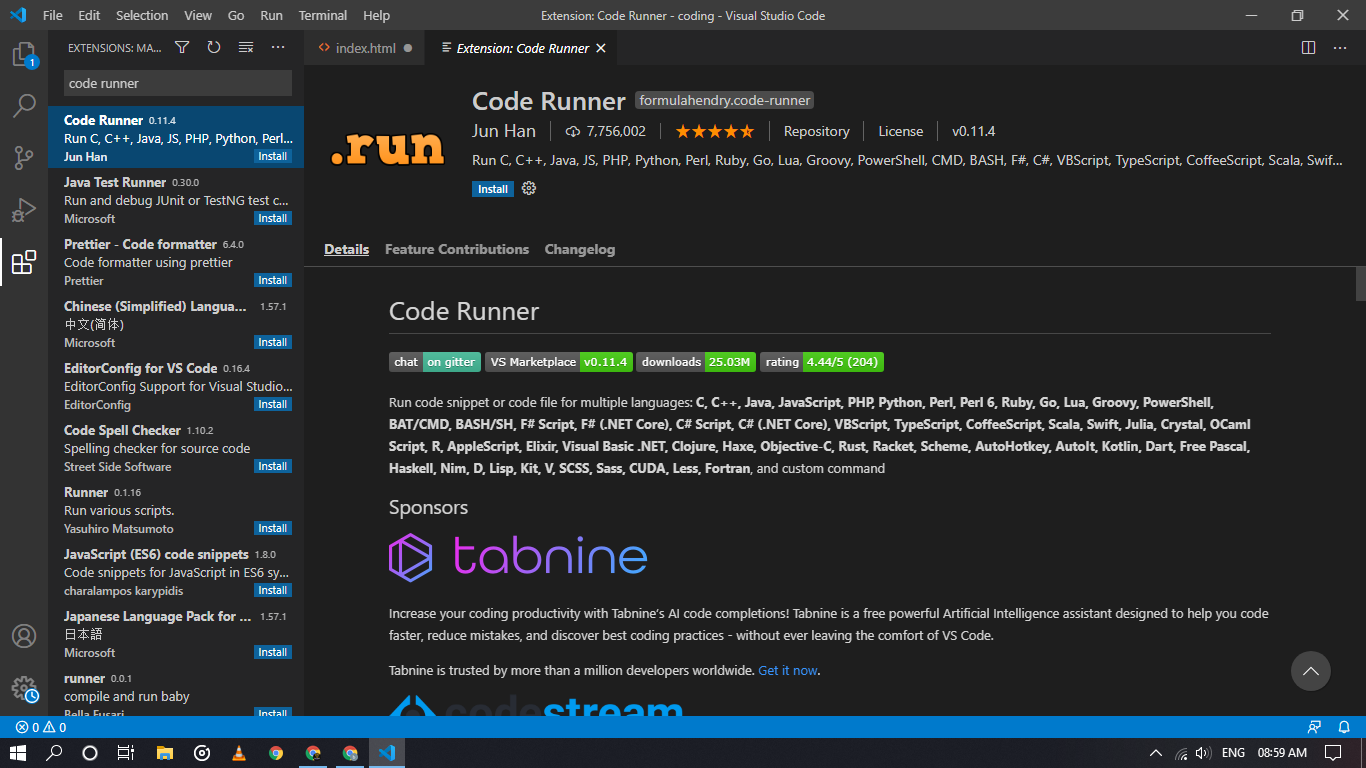
After that install code runner so that you will be able to run the code.
Now, your are ready to go. If you are having any problems comment me below.


Comments
Post a Comment